 Česky
Česky Deutsch
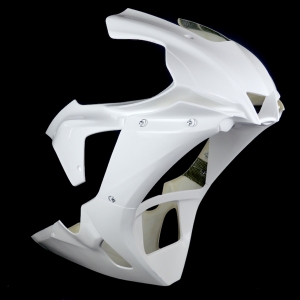

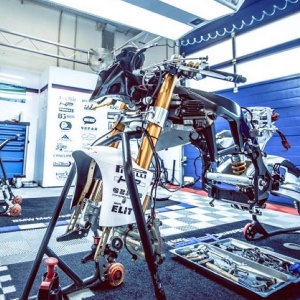


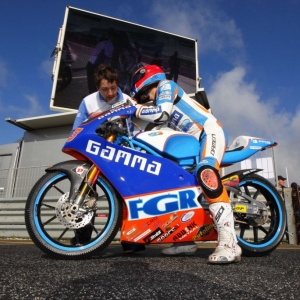


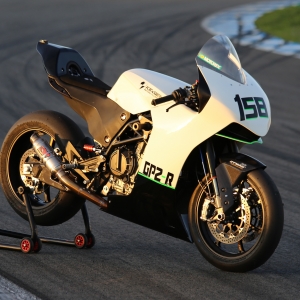


We offer more than 90 plexiglasses for our fairings and half fairings.
In the color CLEAR and LIGHT SMOKE. The plexiglasses are 1.5-2mm thick and very flexible.
Pre-prepared windshield Motoforza = drilled, plexi cutted in the shape of fairing/upper part Motoforza
How to do it - installation video below. For installation you will also need:
1) Allen key
2) Supplied screws for plexiglass (in the set from Motoforza)
3) Paper tape
4) Ideally 2 people for easier handling
IMPORTANT INFO !!! :
-
The plexiglass and the fairings themselves are flexible, so before installation it may seem that they do not fit, that they are perhaps smaller.
After installation in the fairing, see the video, everything is fine. We prepare the plexiglass together with the fairing.
After preparing the plexiglass and testing it in the fairing, it is sent already packaged separately. -
Be very careful not to scratch the plexiglass!!! We recommend using paper tape, as in the video.
-
If you manage to get a scratch, we recommend using a special polishing/grinding paste for plexiglass.
*We recommend testing the suitability of the paste, ideally on a small area that will be hidden behind an edge in the hood.
-
When tightening the screws for attaching the plexiglass to the fairing, proceed gently and with sensitivity!!!
There is no need to "fasten to max" so that something breaks somewhere. Tighten just enough. First, tighten all the screws a few turns, then tighten them fully.


